|
Terrain Board Construction |
||

|
Click on image to enlarge. |
||
|
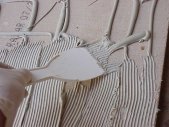
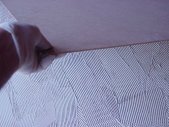
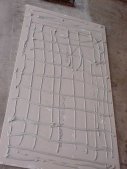
Construction starts by laminating 2' x 4' x 3/4" ceiling tiles to 2' x 4' x 1/8" masonite fiber board. Use paneling cement which comes in a tube or floor tile cement. Floor tile cement is wetter and will not set up as fast as wall cement. But being wetter it may cause the boards to warp so be careful. Look for whatever mode that gets the most glue per dollar. It takes about 1½ tubes of the glue per board. Spread the glue out with a toothed spatula. Press the boards together and place them on a flat surface with covering with weights for a day or two to firmly bond. These took almost two weeks to fully cure. During that time keep them flat so they do not warp. |
||

|
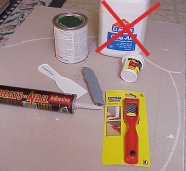
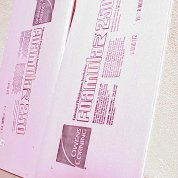
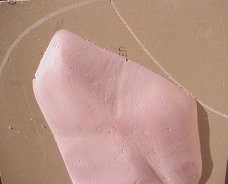
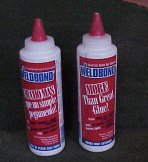
The first picture above show some of the materials and tools you will need. Note that Elmer glue proved a disappointment when spread on painted boards. I now use Weldbond white glue. This is more expensive but works very well on painted boards. The best way I found to secure RR grass and dirt is to mix 1:1 latex green paint and white glue. Spread this fast and use a flour spreader to dust on your grass. The second photo shows some of the wood putty smeared on a board with groves pulled through to look like a basis for dirt roads or trails. |
||
|
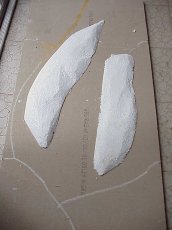
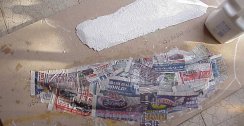
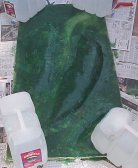
Using the shaping tool I smoothed the edges of some ordinary Styrofoam hills. These were glued to the ceiling tiles with white glue. Next I coated the hill with white glue and used strips of newspaper soaked in a water/glue solution to coat the hill. When using white glue it is advisable to put weights on the terrain board until dry as the moisture can lead to warping. One gallon and 2½ gallon water jugs can be used to hold down boards and curtail |
||
|
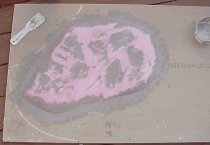
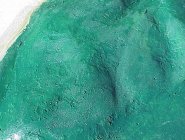
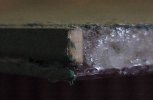
This hill is consists of the pink foamular syrofoam with auto body putty along its bases and in some places on top. It paints up quite well and is ready for model railroad grass flocking. Unlike the ordinary styrofoam the pink stuff doesn't have the bead look so it doesn't have to be covered with glued paper strips. |
||
|
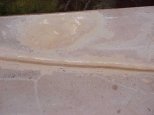
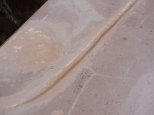
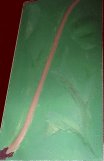
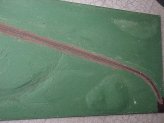
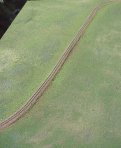
White Styrofoam was cut, shaped and sanded then glued to lay the base of the raised track berm. This was covered with Plastic wood putty. This can be thinned with water to make it like a paste. Then spread and used much like one would use plaster-of-Paris. The same was done to a low hill. Next the board was painted green and the track |
||
|
The Z-scale track was glued onto the berm. Once dry model railroad fine gravel was glued over this. Later railroad grass was applied to the green area of the board. On this board I used Weldbond white glue instead of the weaker Elmer's. |
||

|
Finally you have some nice terrain that would make Rommel proud. |
||